
谷歌插件流程:第一回
相信经常使用chrome的小伙伴们,对其丰富的插件工具不会陌生。比如下载页面视频、音乐等等等。那么这些工具究竟是如何编写的呢?本文将以谷歌官方实例为基础,简单介绍一下chrome插件的开发流程,我们最终的目标,是写一个自己的视频下载器插件。部分内容参考下面地址文章
1. 第一步创建一个空的文件夹,后创建manifest.json文件,可以理解为整个插件的名片,代码如下。
{
  "name": "Ta-da",
  "description": "download_zhihu_short_video",
  "version": "1.0",
  "manifest_version": 3,
  "background": {
    "service_worker": "background.js"
  },
  "permissions": ["storage", "activeTab", "scripting"],
  "action": {
    "default_popup": "popup.html"
  },
  "icons": {
    "128": "/images/icon.png"
  }
} - service_worker: 确定js文件
- default_popup: 确定点击图标后的html
- icons: 配置图标
2. 创建background.js文件。manifest.json文件中的background字段,是一个包含service_worker属性的对象,可以理解为该插件的环境,官方叫做服务视图。这里我们指定服务视图为background.js文件,代码如下:
let color = 'red';
chrome.runtime.onInstalled.addListener(() => {
  chrome.storage.sync.set({ color });
});
// html文件如下:
<!DOCTYPE html>
<html>
  <head>
    <link rel="stylesheet" href="button.css">
  </head>
  <body>
    <button id="changeColor"></button>
    <script src="popup.js"></script>
  </body>
</html>
{/* css */}
button {
  height: 30px;
  width: 30px;
  outline: none;
  margin: 10px;
  border: none;
  border-radius: 2px;
}

button.current {
  box-shadow: 0 0 0 2px white,
              0 0 0 4px black;
}
在html中我们引入了一个css和popupjs文件,同时定义了一个按钮。其中popupjs代码如下:
// Initialize butotn with users's prefered color
let changeColor = document.getElementById("changeColor");
chrome.storage.sync.get("color", ({ color }) => {
  changeColor.style.backgroundColor = color;
});

// When the button is clicked, inject setPageBackgroundColor into current page
changeColor.addEventListener("click", async () => {
  let [tab] = await chrome.tabs.query({ active: true, currentWindow: true });
  chrome.scripting.executeScript({
    target: { tabId: tab.id },
    function: setPageBackgroundColor,
  });
});

// The body of this function will be execuetd as a content script inside the
// current page
function setPageBackgroundColor() {
  chrome.storage.sync.get("color", ({ color }) => {
    document.body.style.backgroundColor = color
  });
}
该文件我们都做了啥?
- 先是从chrome.storage中拿到color这个变量,然后改变了按钮的样式。这个很类似ipc,目的在于渲染进程和主进程的通信。此处就可以理解为渲染进程从主进程中拿到了一个叫做color的变量。
- 监听按钮的点击事件,一旦点击,执行脚本executeScript。此处的事件回调就是改了下body的背景色。这一步,实际上就是脚本注入.
将相关js代码,通过executeScript注入到对应tab的环境中执行。
到目前为止,我们已经可以把当前文件夹作为插件文件夹导入chrome浏览器中。首先在地址栏中输入chrome://extensions/打开扩展程序页面,点击页面顶部第一个选项“加载已解压的扩展程序”导入文件夹,然后就能看到如下所示的插件卡片: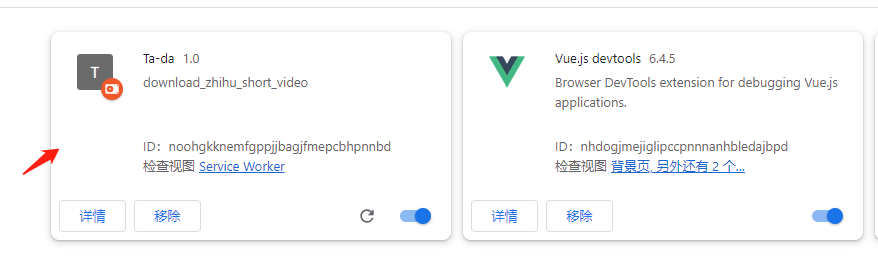
点击插件小图标: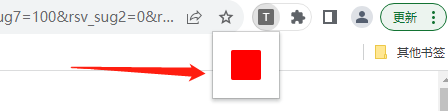
点击按钮:
All articles in this blog are licensed under CC BY-NC-SA 4.0 unless stating additionally.