
Paperjs:像素打印机
本文介绍一个像素打印机的小玩具
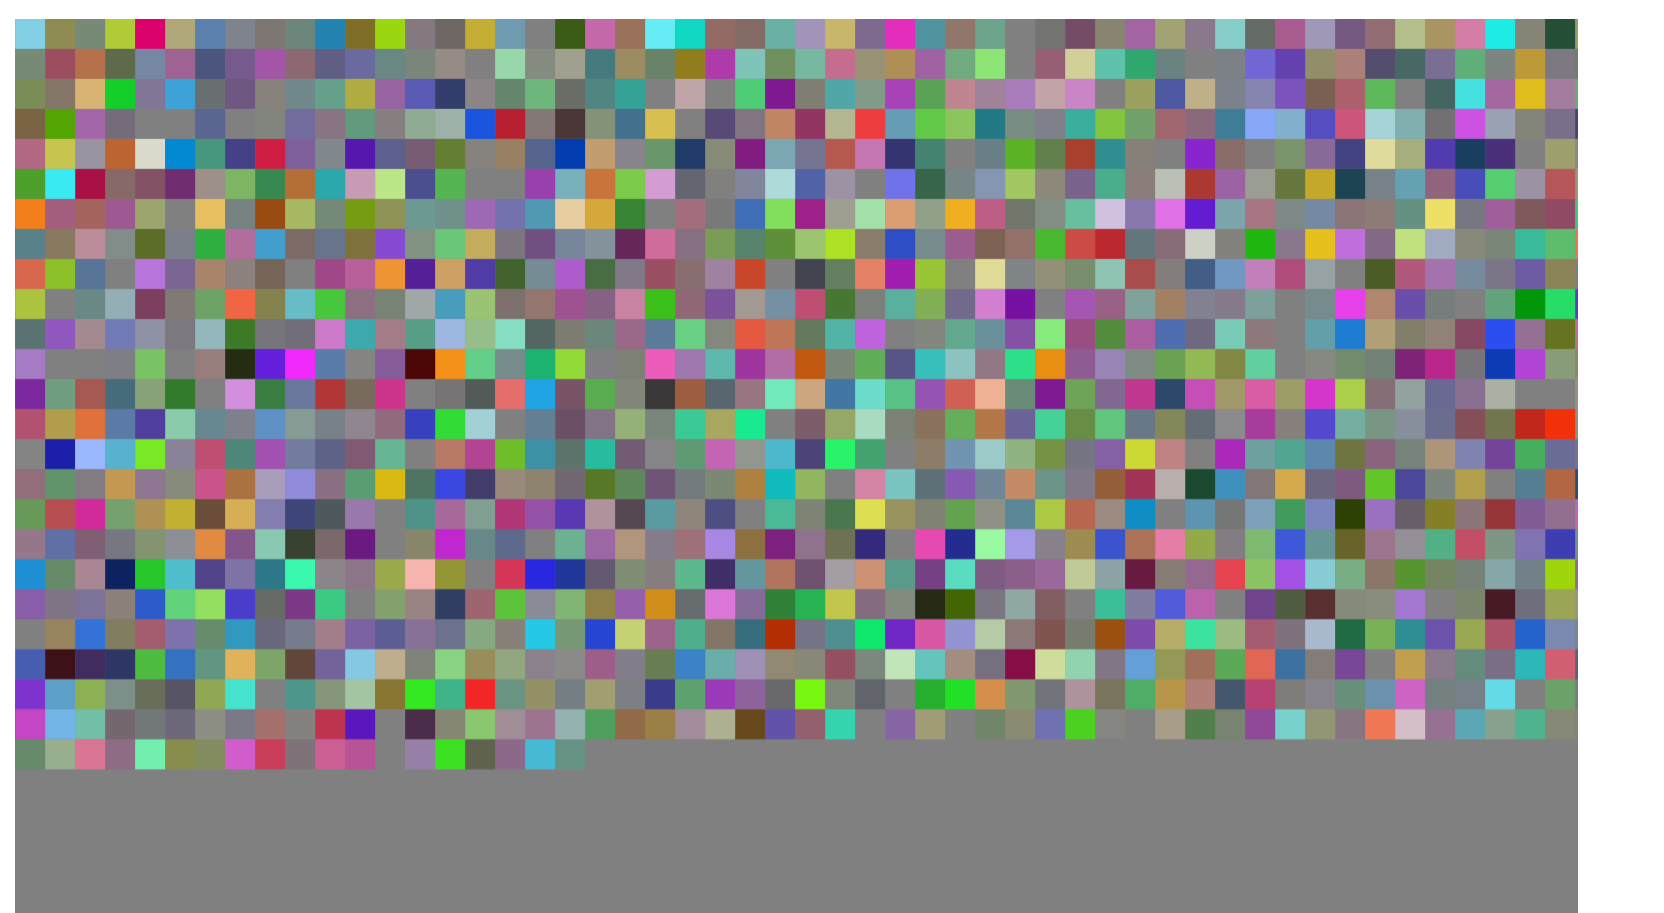
就是要在画布中,从左上角开始绘制指定大小的像素方块。从左到右,到了边缘折回继续。
思路:全局维护一个x,y,用来记录当前的位置,每帧的时候在该位置绘制方块,然后更新xy,直到到达画布的右下角。
效果如下: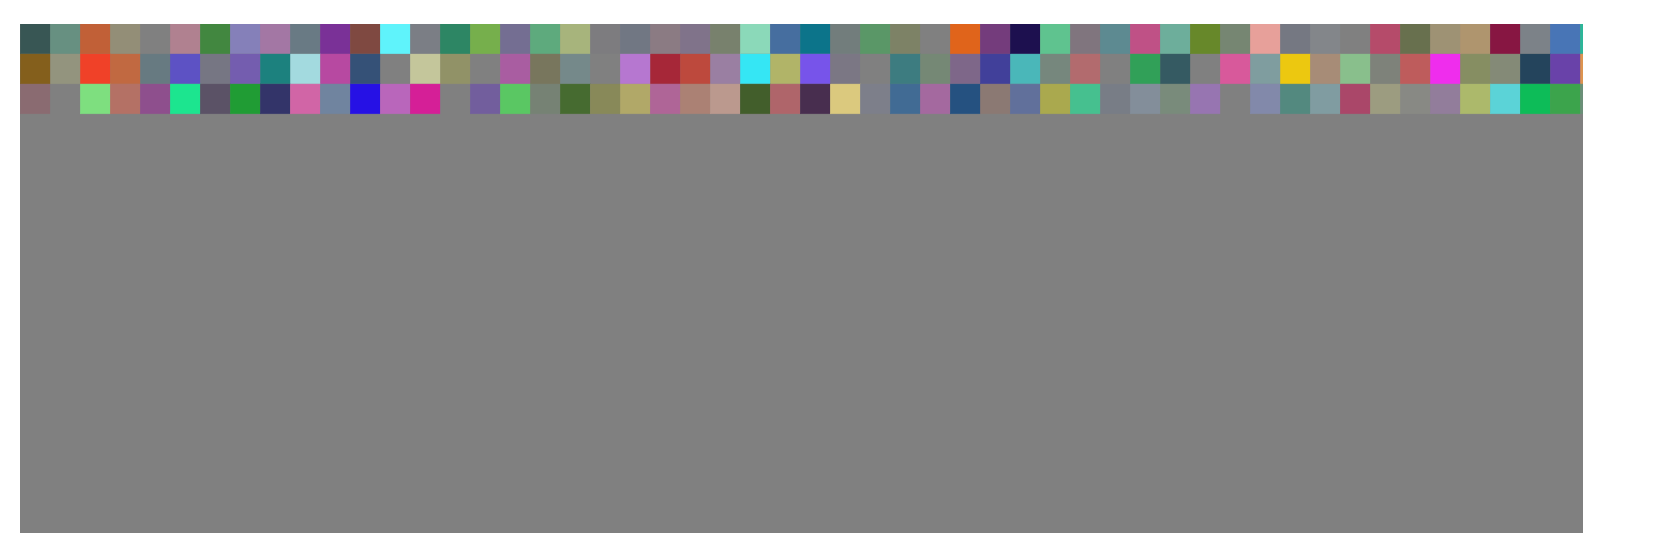
动图懒得搞了,将就着看吧。。。完整vue2代码:
<!--
 * @Author: Hhvcg
 * @Date: 2022-02-20 15:26:48
 * @LastEditors: -_-
 * @Description:
-->
<template>
  <div class="dashboard">
    <div class="dashboard-text flex-cc">
      <span>
        像素打印机
      </span>
    </div>
    <div class="dashboard-container pd10 flex-cc">
      <canvas id="main_canvas" ref="main_canvas" resize class="main_canvas" />
    </div>
  </div>
</template>

<script>
import { mapGetters } from 'vuex'
import paper from 'paper'
import {getRandomColor} from '../../weapons'

export default {
  name: 'Dashboard',
  computed: {
    ...mapGetters([
      'name'
    ])
  },
  data() {
    return {
      paper: null,
      tool: null,
      // 存储画布容器宽高
      XY: {},
      SIZE: 20,
      snake: {
        x: null,
        y: null,
        direction: 1
      }
    }
  },
  created() {

  },
  mounted() {
    this.initWorld()
    // this.drawXY()
    this.drawBrick()
  },


  methods: {
    // 绘制snake的step
    drawSnakeStep() {
      if (this.snake.x >= this.XY.x || this.snake.y >= this.XY.y) return
      // 根据当前snake的xy绘制图形
      this.brick = new paper.Path.Rectangle(new paper.Point(this.snake.x, this.snake.y), new paper.Size(this.SIZE,this.SIZE))
      this.brick.fillColor = getRandomColor()
      if (Math.abs(this.snake.x + this.SIZE * this.snake.direction) <= this.XY.x) {
        this.snake.x += this.SIZE * this.snake.direction
      } else {
        this.snake.y += this.SIZE
        this.snake.direction = -this.snake.direction
      }
    },
    onFrame() {
      this.drawSnakeStep()
    },
    // 铺砖函数
    drawBrick() {

    },
    // 绘制当前paperjs画布的坐标系
    drawXY() {
      this.X = new this.paper.Path()
      this.X.strokeColor = 'black'
      this.Y = new this.paper.Path()
      this.Y.strokeColor = 'black'
      for (let i = 0; i < this.XY.x / 2; i++) {
        this.X.add(new paper.Point(i, 0))
        this.X.add(new paper.Point(-i, 0))
      }
      for (let i = 0; i < this.XY.y / 2; i++) {
        this.Y.add(new paper.Point(0, i))
        this.Y.add(new paper.Point(0, -i))
      }
    },
    initWorld() {
      const canvas = this.$refs.main_canvas
      this.XY.x = canvas.clientWidth
      this.XY.y = canvas.clientHeight
      this.snake.x = -Math.floor(canvas.clientWidth / 2)
      this.snake.y = -Math.floor(canvas.clientHeight / 2)
      console.log('xy', this.XY)
      paper.setup(canvas)
      this.paper = paper
      this.paper.view.setCenter(0, 0);
      this.paper.view.onFrame = this.onFrame
      this.tool = new paper.Tool()
      this.tool.onMouseDown = (e) => {
        console.log('点击事件--->', e.point)
      }
      // 初始化世界
    },
  }
}
</script>

<style lang="scss" scoped>
.dashboard {
  border: 1px solid gray;
  width: 100%;
  height: calc(100vh - 50px);
  padding: 10px;
  display: flex;
  // justify-content: center;
  align-items: center;
  flex-direction: column;
  &-text {
    width: 100%;
    height: 100px;
    border: 1px solid ghostwhite;
  }
  &-container {
    height: calc(100% - 100px);
    width: 100%;
    border: 1px solid red;
    .main_canvas {
      width: 90%;
      height: 90%;
      background: gray;
    }
  }
}
</style>
代码有些冗余,核心就是那个drawSnakeStep。
再来一幅有内涵的画: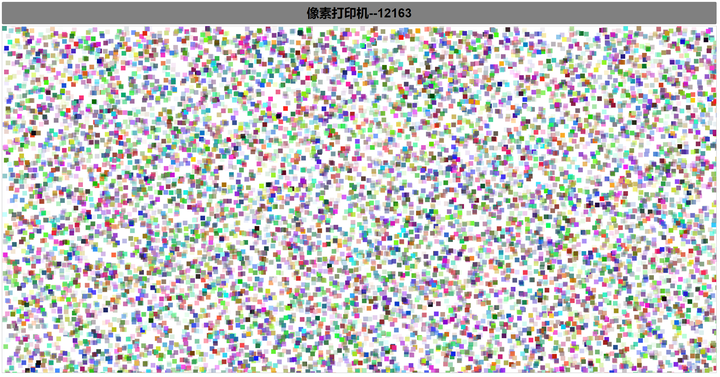
All articles in this blog are licensed under CC BY-NC-SA 4.0 unless stating additionally.