
Threejs系列:第一回
本文简单介绍threejs的基本内容。
开宗明义
three.js官方定义的三大要素:场景(scene)、相机(camera)、渲染器(render)。我觉得还得加上一个物体(内容)。本文以一个简单的球形案例带大家一起入个门。(基于vue2)
首先html骨架代码,很简单:
<template>
  <div class="circleEarth-container flex-cc">
    <div id="container" ref="container" class="container"></div>
  </div>
</template>
JS完整代码
const container = this.$refs['container']
     let scene = new Three.Scene()
     const geometry  = new Three.SphereBufferGeometry(60, 40, 40)
     const material  = new Three.MeshStandardMaterial({
       // color: 'black'
     })
     material.metalness = 0.7
     material.roughness = 0.2
     material.color = new Three.Color(0x292929)
     const mesh = new Three.Mesh(geometry , material )
     scene.add(mesh)

     // 光源设置
     // 点光
     let point = new Three.PointLight(0xffffff, 0.2)
     point.position.set(2,200,300)
     scene.add(point)
     // 环境光
     let ambient = new Three.AmbientLight(0x444444);
     scene.add(ambient);
     /**
      * 相机设置
      */
     let width = container.clientWidth; //窗口宽度
     let height = container.clientHeight; //窗口高度
     let k = width / height; //窗口宽高比
     let s = 200; //三维场景显示范围控制系数,系数越大,显示的范围越大
     //创建相机对象
     let camera = new Three.OrthographicCamera(-s * k, s * k, s, -s, 1, 1000);
     camera.position.set(200, 300, 200); //设置相机位置
     camera.lookAt(scene.position); //设置相机方向(指向的场景对象)
     /**
      * 创建渲染器对象
      */
     let renderer = new Three.WebGLRenderer();
     renderer.setSize(width, height);//设置渲染区域尺寸
     renderer.setClearColor(0x401230, 0.5); //设置背景颜色
     container.appendChild(renderer.domElement); //body元素中插入canvas对象
     //执行渲染操作   指定场景、相机作为参数
     renderer.render(scene, camera);
最后的效果如下: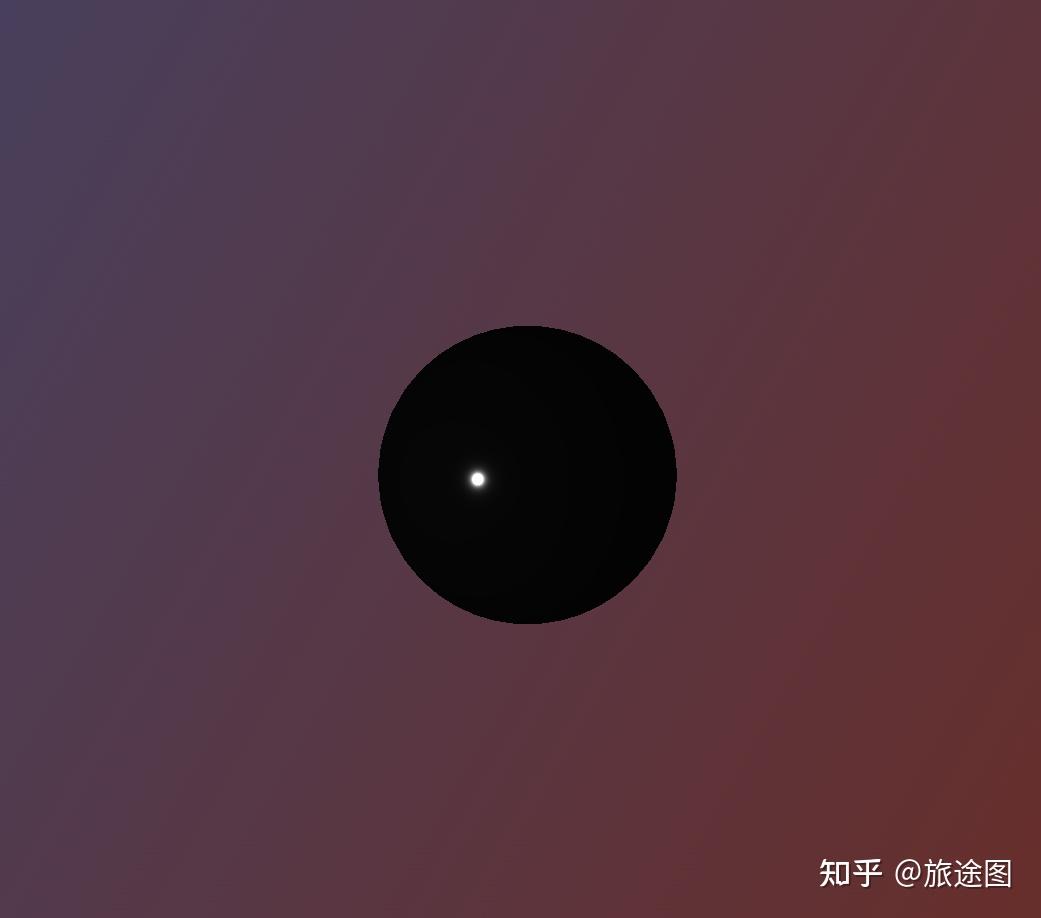
实现过程
简单讲解一下实现的过程。文章的开头我们就已经说过了,threejs三大妈:场景、相机、渲染器。
其中的场景,暂且可以理解为最终我们看到的这个画布。我们首先需要new一个scene对象。然后创建物体和材料实例,结合二者生成一个cube,通过scene的add方法加入到画布中去。这个过程的实现代码就是下面这几行。逻辑很清晰:我们往场景中塞入了一个球体,然后给这个球体做了点装饰,就是用的“材料”。我们可以设置这个“材料”的颜色、金属强度等一系列的图像学的属性。最后通过render渲染器,循环渲染页面。
let scene = new Three.Scene()
const geometry  = new Three.SphereBufferGeometry(60, 40, 40)
const material  = new Three.MeshStandardMaterial({
  // color: 'black'
})
material.metalness = 0.7
material.roughness = 0.2
material.color = new Three.Color(0x292929)
const mesh = new Three.Mesh(geometry , material )
scene.add(mesh)
这个时候我们看下效果: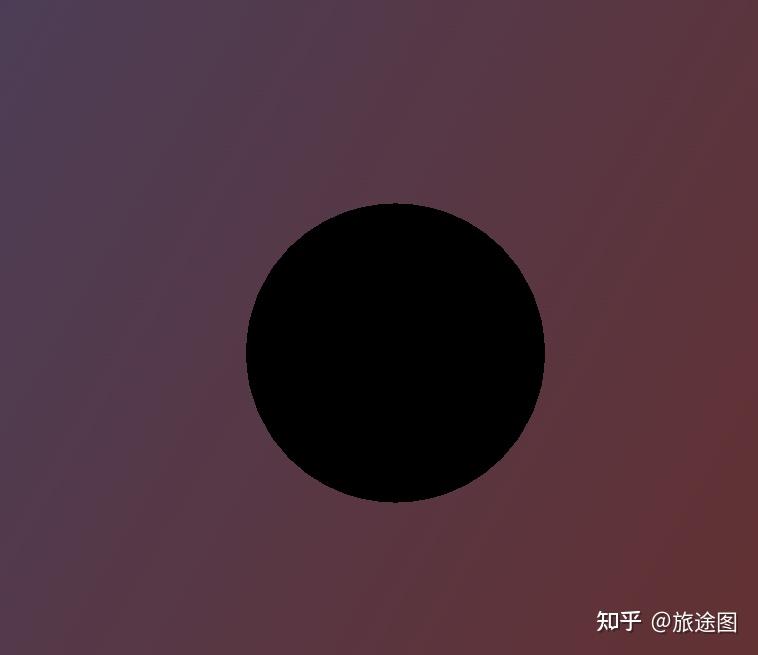
看起来略显单调,加点灯光:
// 点光
let point = new Three.PointLight(0xffffff, 0.2)
point.position.set(2,200,300)
scene.add(point)
效果: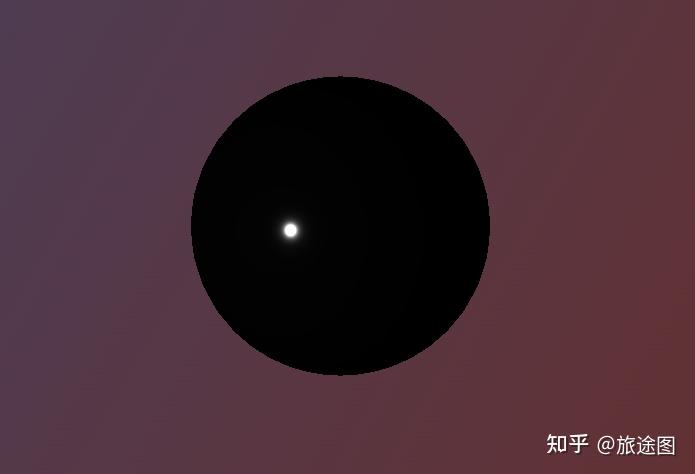
就这么简单。
对了,最后的相机和渲染器的设置别忘了。哪些方法暂时够用。
3.我们再上面的基础之上,更进一步,让这个小球动起来。
实现很简单,再次用上我们老朋友RAF,具体代码如下:
const animate = () => {
  requestAnimationFrame(animate)
  // mesh.rotation.x += 0.01
  // mesh.rotation.y += 0.02
  const elapsedTime = clock.getElapsedTime()
  // Update objects
  mesh.rotation.y = 0.5 * elapsedTime
  renderer.render(scene, camera)
}
贴个图吧: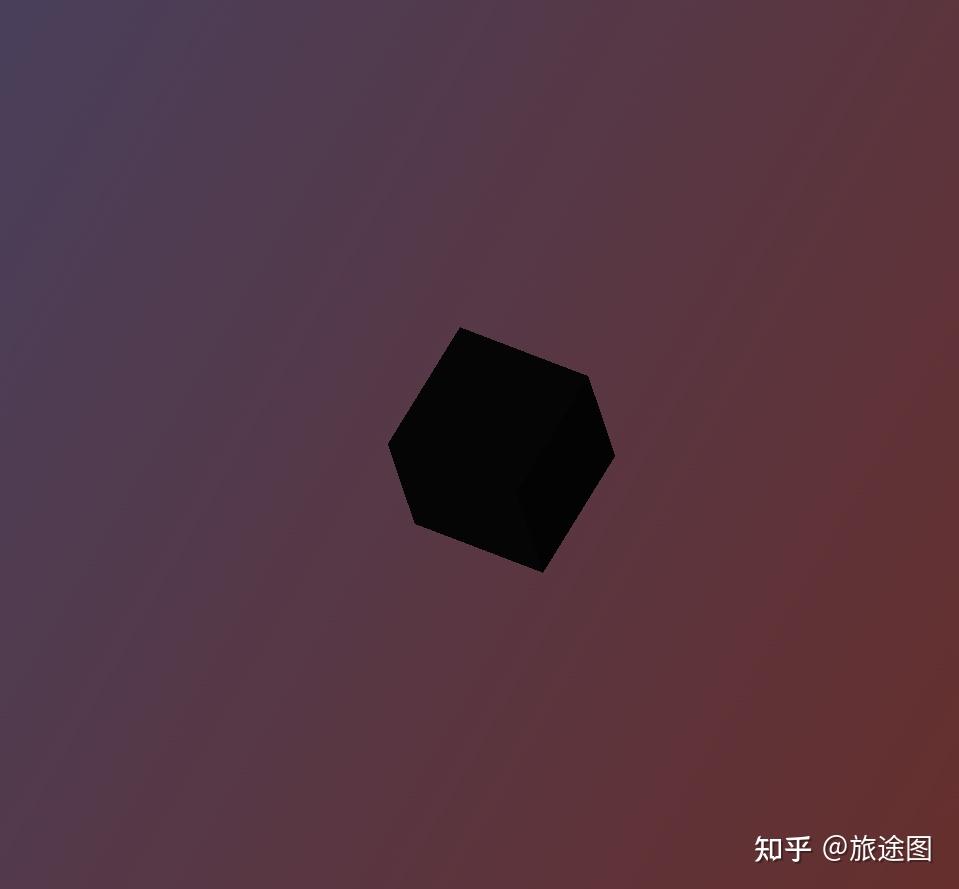
最后,顺带让你们感受下数学的美

不过总的来说,尽管threejs看似很强大,但是由于浏览器的局限性,性能是一个需要特别对待的课题。官方的一些例子确实很精美但是,动不动就崩溃谁能抗的住?
插一句关于动画的题外话:
关于实现动画效果为什么用requestAnimationFrame而不是定时器函数?官方文档给出了如下解释:
If you’re new to writing games in the browser, you might say”why don’t we just create a setInterval ?”The thing is - we could, but requestAnimationFramehas a number of advantages. Perhaps the most important one is that it pauses when the user navigates to another browser tab, hence not wasting their precious processing power and battery life.
我的解释是:requestAnimationFrame能够尽可能的保证屏幕每次重新刷新都会执行回调函数,而定时器,受各方牵制太多。实质上定时器函数的优劣,我们再前面的文章有所提及,定时器函数设定的时间,并不是实际设定的时间,应该看做最快执行时间,因为当定时器线程取出已经完成等待的定时器回调函数时,下一步不是立即执行,而是交给了事件触发线程,由事件触发线程再放入宏任务队列中,此时,如果主线程尚未执行完毕,依然需要等待。
文毕