Threejs系列:第三回
本文讲解纹理相关内容
首先推荐个老外的站点,上面的各种纹理资源应有尽有,拿走不谢。
https://ambientcg.com/list
所谓纹理,实质就是我们游戏制作过程中的贴图。比如通过下方代码,我们写了一个圆球体:
// 物体
const geometry = new THREE.SphereGeometry( 1);
const mesh = new THREE.MeshBasicMaterial({
  color: 'green',
  map: pi
})
const cube = new THREE.Mesh(geometry, mesh)
scene.add(cube)
效果如下: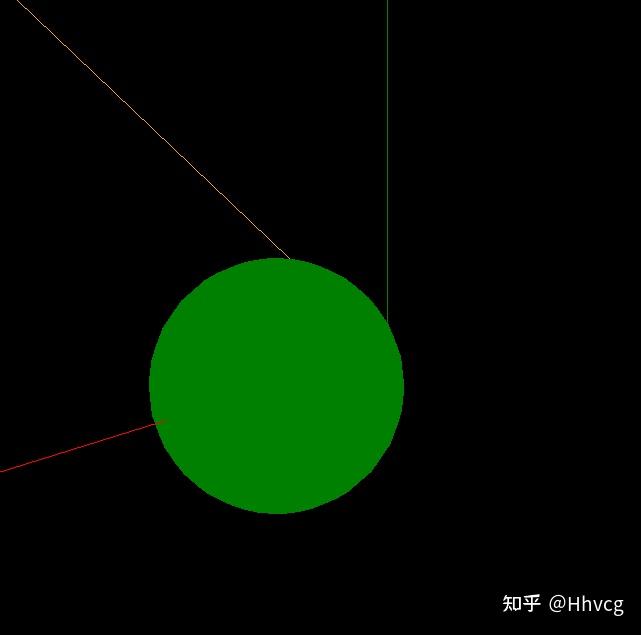
是不是感觉很僵硬?不着急,我们在他的表面贴一张图片看看:
// 纹理
const texttureLoader = new THREE.TextureLoader()
// const pi = texttureLoader.load('./OutdoorHDRI078_1K-HDR.exr')
const pi = texttureLoader.load('./door.jpg')

// 物体
const geometry = new THREE.SphereGeometry( 1);
const mesh = new THREE.MeshBasicMaterial({
  color: 'green',
  map: pi
})
const cube = new THREE.Mesh(geometry, mesh)
scene.add(cube)
cube.position.x = 1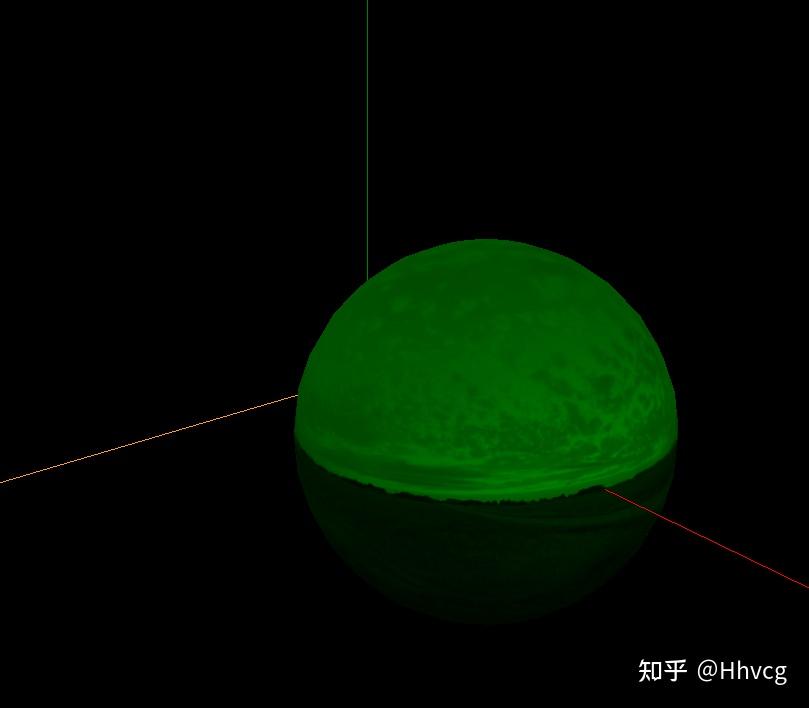
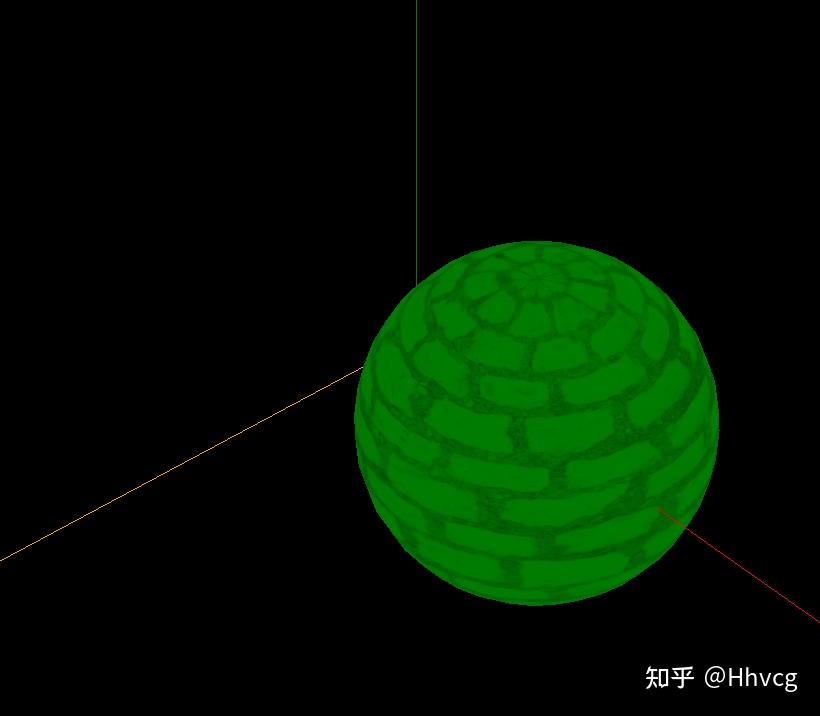
纹理又分为了map和envMap,后者就是环境纹理
如下方式添加:
const path = './';
const format = '.jpg';
const urls = [
  path + 'earth' + format, path + 'earth' + format,
  path + 'earth' + format, path + 'earth' + format,
  path + 'earth' + format, path + 'earth' + format
];
const textureCube = new THREE.CubeTextureLoader().load( urls );
scene.background = textureCube;立马来了感觉是不是?(这里可以各种diy,发挥你们的而创造力)。在这里可以剧透一下,我们所看到的各种酷炫的3d效果,就俩字:贴图
All articles in this blog are licensed under CC BY-NC-SA 4.0 unless stating additionally.